Ubuntuを使用したDMVPNのインストールと設定例
説明
DMVPN(Dynamic Multipoint VPN)は、すべてのデバイスを静的に設定する必要なく、複数の拠点間でVPNネットワークを構築するためのルーティング技術です。これは「ハブとスポーク」型のネットワークで、スポークはハブを経由せずに直接相互通信が可能です。IPsecによる暗号化がサポートされているため、通常のインターネット接続を使用して異なる拠点間を接続する際に人気の選択肢となっています。
Milesight産業用ルーターはDMVPN機能をサポートし、クライアントモードとして動作します。このマニュアルでは、DMVPNサーバーのインストール方法、およびMilesightルーターをサーバーに接続する手順を説明します。
注意:Milesightルーターのファームウェアを最新バージョンに更新してください。
要件
Ubuntu
Milesightルーター
URルーターIP:192.168.22.105
DMVPN ハブ: 192.168.23.206
GRE ハブ IP: 10.0.0.1
GRE トンネル IP: 10.0.0.XX (10.0.0.2-10.0.0.254)
GRE キー: 123456, 事前共有キー: 123456
内容
設定
DMVPN サーバー設定
ステップ1. 必要環境のインストール
1.Ubuntu にログインし、以下のコマンドを実行: apt-get update
2. racoon のインストール
3.opsec-tools のインストール.
4: build-essential をインストールします。
5: libc-ares-dev をインストールします。
6: pkg-config をインストールします。
7: この URL から opennhrp-0.14.1.tar.bz2 をダウンロードします。
8: opennhrp をインストールします。tar -xjvf opennhrp-0.14.1.tar.tz2 & make & make install
ステップ2. /etc/opennhrp/opennhrp.conf を設定
ステップ3. /etc/racoon/racoon.conf を設定
ステップ4. /etc/racoon/psk.txt を設定
注: ルーターのWAN IPアドレスに応じてIPアドレスを設定してください

Step5. ipsec-tools.conf を設定
ステップ6. DMVPN を開始/停止するスクリプトを作成します
注: サーバーの IP アドレスに応じてローカル IP アドレスを設定してください
ステップ7. 作成したスクリプトでサービスを起動する
Milesight ルーターの設定
DMVPN を有効にし、設定を保存して適用してください。

接続状態を確認
Milesight ルーターの Web GUI で Status -> VPN に移動してください。

関連記事
ルーターの使用
 カスタムタイプのDDNSに接続する際のワイルドカードの使用方法カスタムタイプのDDNSに接続する際のワイルドカードの使用方法について説明します
 Milesightルーター(OpenCPUシステム)HTTP APIの使用方法ユーザーは下記のステップに従ってAPIを呼び出し、デバイスを直接制御・管理できます。
 MilesightルーターでZeroTier VPNを使用する方法ZeroTierは、仮想ネットワークを構築し、ソフトウェア定義ネットワーク(SDN)サービスを提供するソリューションです。
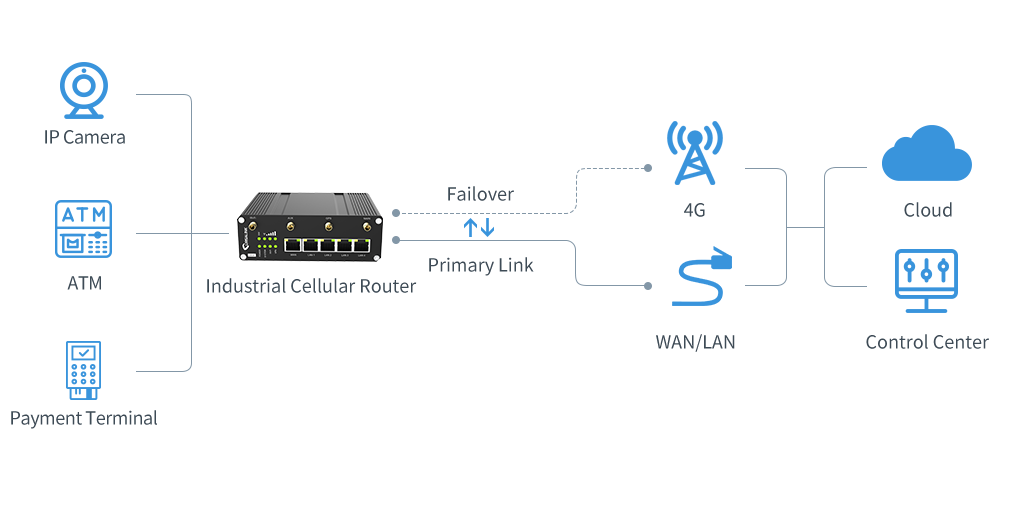 ネットワークの常時接続機能を実現する方法Ursalink 産業用セルラールーターは、リンクフェイルオーバー機能によりネットワークをスムーズに稼働させます
 MilesightルーターでシリアルDTUトランスペアレントモードを使用する方法Milesight ルーターでシリアル DTU 透過モードを使用する方法について簡単に説明します
 Milesight ルーターで Modbus RTU を Modbus TCP に設定する方法最もよく使用されるのは、Modbus RTU(リモートターミナルユニット)、シリアル(RS-232またはRS-485)プロトコル、またはModbus(TCP/IP)伝送制御プロトコルとインターネットプロトコルです。
 Milesight ルーターでのModbus マスター機能の使用方法Milesightルーターは、Modbus RTU/TCPマスター(クライアント)として機能し、Modbusスレーブユニットデバイス(サーバー)からデータを要求できます
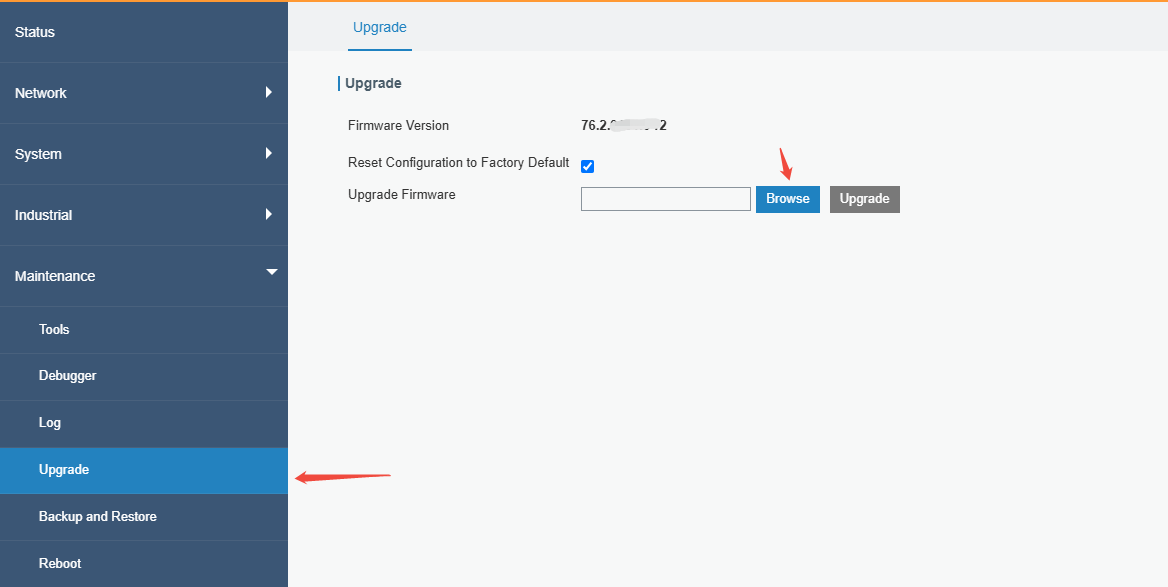 Python アプリケーションを使用して SNMP サーバーに DI/DO ステータスを書き込む方法Milesight ルーター上の Python アプリケーションを使用して、DI/DO ステータスを SNMP サーバーに書き込む方法について説明します。
 Milesight ルーターを GenieACS システムに TR-069 経由で統合する方法TR-069(Technical Report 069)は、正式名称を「CPE WAN Management Protocol」といい、ブロードバンド・フォーラムによって開発された業界標準プロトコルです
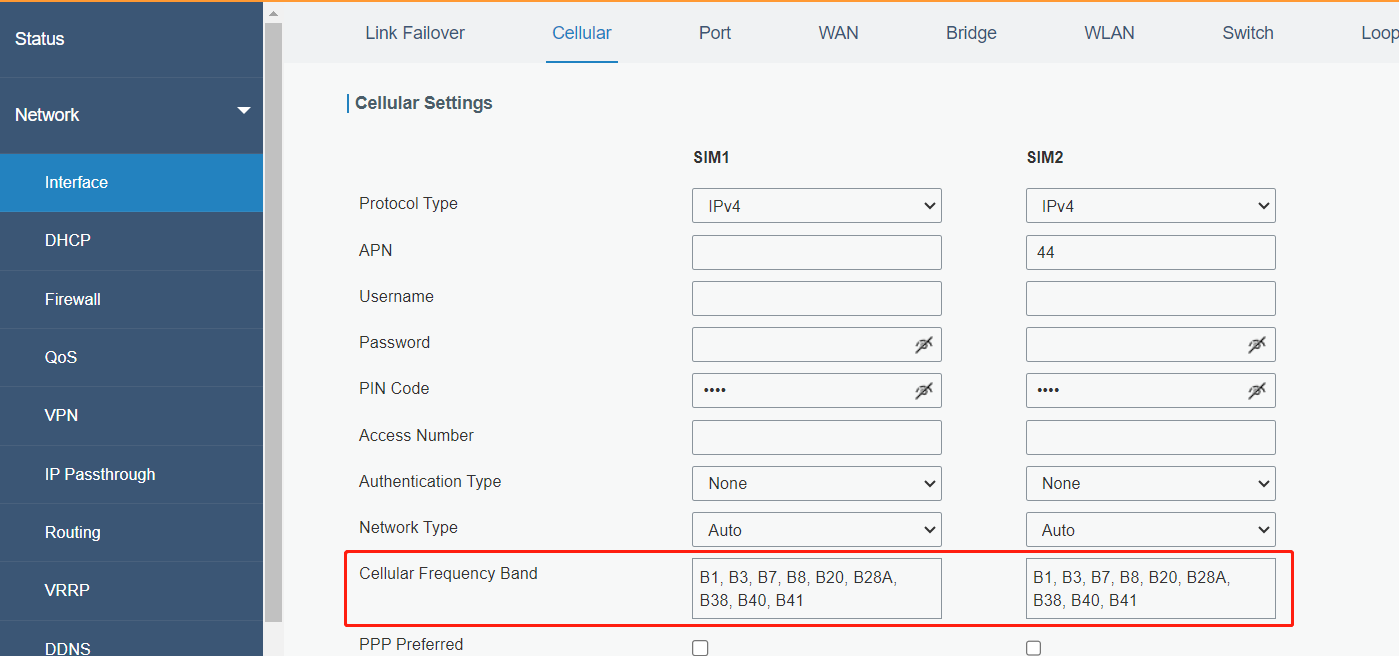 Milesightルーターのセルラー周波数帯域選択セルラーネットワークに登録する特定のセルラー周波数帯域を選択する方法について説明します
 Milesight UR75&UF51ルーターでDOをコントロールする方法DOの原理とDOの制御方法について説明します
- Milesight UR3x&UR41ルーターでDOをコントロールする方法DOの原理とDOの制御方法について説明します
 MilesightルーターをOpenVPN CloudConnexaに接続する方法CloudConnexaを例に、MilesightルーターとCPEでOpenVPNクライアントを構成する方法を説明します。
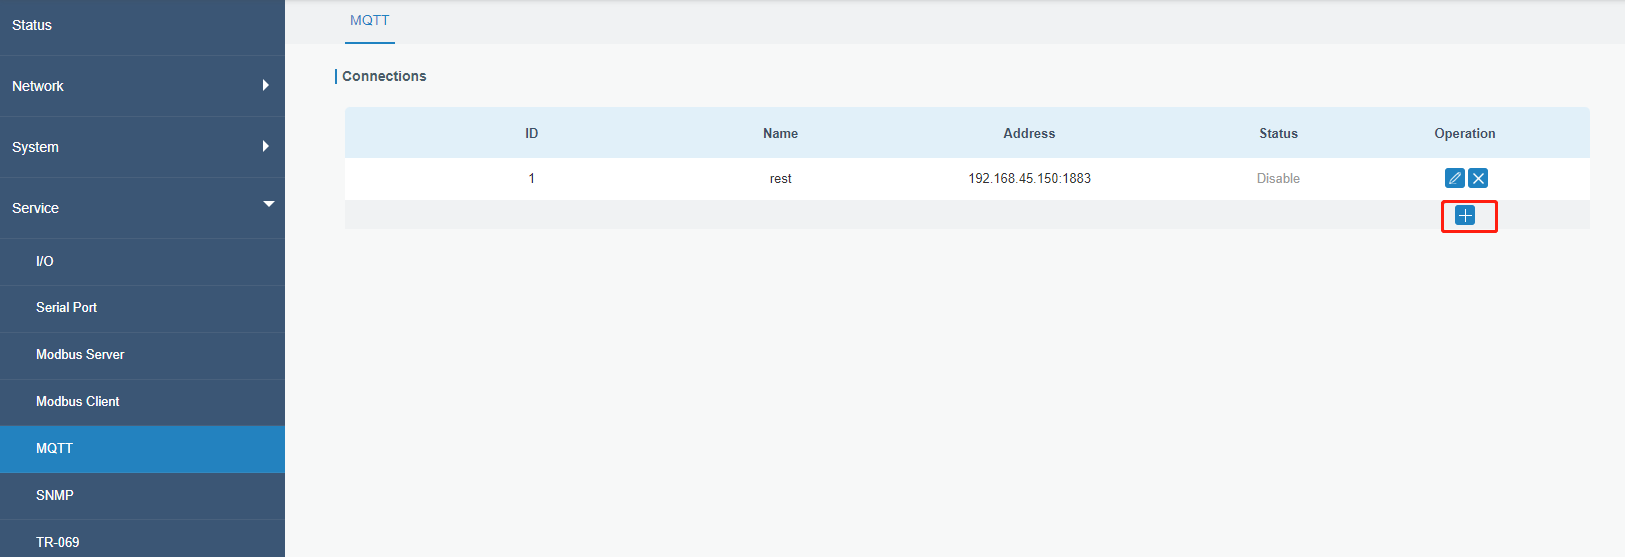 MilesightルーターのMQTTメッセージング機能MQTT クライアントとしてデータをパブリッシュするための MQTT 設定の構成方法、およびルーター情報とデータの取得方法について説明します。
 Milesight ルーターで「pip install」を実行する方法Milesight セルラー ルーターには、Python での二次開発用に組み込みコンポーネントが搭載されています。
 Milesightルータ間でIPsec VPNを確立する方法Milesight ルーター間で IPsec VPN を設定する方法について説明します。
 MilesightルーターでACLを設定する方法アクセス制御リスト(ACL)の設定について詳細に説明します
- MilesightルーターでのDIの使い方DI の使用方法と DI ステータスの確認方法について説明します
 システム時刻の設定方法とNTPサーバーのセットアップNTP サーバーとの同期を例に、システム時刻の設定方法と、ルーターを NTP サーバーとして使用する方法を説明します。
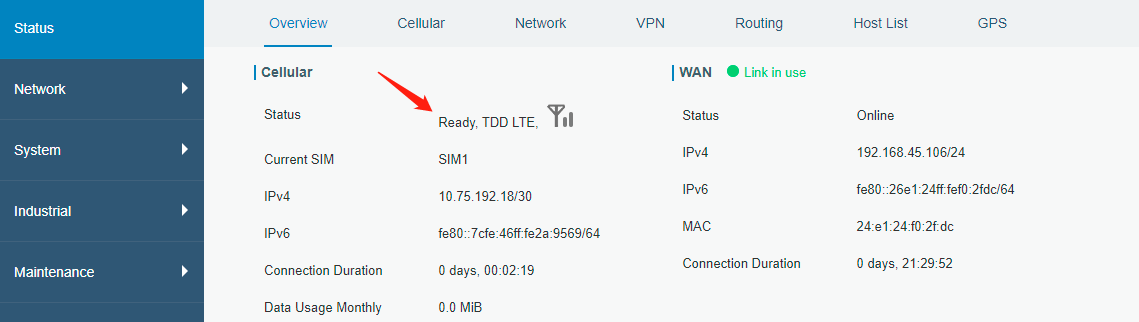 SMSの送受信と遠隔操作の方法この手順により、電話グループ1のSIM1番号のみがこのルーターを制御するためのメッセージを送信できるようになります。