以下の構成で実現できます。
Raspberry Pi → MQTT Publish → Beaver IoT内蔵MQTT Broker → MQTT Device Integrated → Entity化 → Dashboard / Workflowで利用
Beaver IoTは、MQTT Brokerとして動作し、Milesightデバイスまたはサードパーティ製MQTTデバイスからJSON形式のレポートを受け取れます。MQTT Device Integratedでは、アップリンクTopicを指定し、JSONキーをEntityにマッピングするDevice Templateを作成します。
1. Beaver IoT側の設定
1-1. MQTT接続情報を確認
Beaver IoTの画面で以下を確認します。
Integration → MQTT Device Integrated → +Add または設定画面
Beaver IoTの内蔵MQTT Brokerは、標準ではMQTT TCPポート 1883 を使用します。Docker構成でも1883がMQTT接続用ポートとして定義されています。
例:
外部クライアント接続用の認証情報は、Beaver IoTの Setting → Credential で設定できます。
2. Device Templateを作成
Integration → MQTT Device Integrated → Device template management → +Add
入力例
注意点として、Beaver IoTのMQTT Device Integratedでは、Device Topicは / から始める必要があります。また、Beaver IoT側で固定されるTopic前半部分は変更せず、コピーして使用する必要があります。
3. Raspberry Piから送るJSON例
まずは単純なJSONにします。
device_id は必須にしておくことを推奨します。Beaver IoT側で、このキーを is_device_id: true にすると、同じ device_id のデータを同じデバイスとして扱いやすくなります。公式例でも device_id を is_device_id: true として定義しています。
4. Device Template定義例
Beaver IoTのDevice Entity Definitionに、以下のようなYAML形式で定義します。
Beaver IoTのDevice Templateでは、JSONデータ型として object、long、double、boolean、string が使用できます。entity_mapping でJSONキーをEntity識別子へ紐付けます。
5. Raspberry Pi側のPython送信例
インストール
Pythonコード例
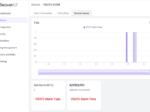
6. 動作確認
Raspberry Piから送信後、Beaver IoT側で以下を確認します。
公式ドキュメントでは、MQTT Device Integratedの設定後、デバイスがBeaver IoTへ接続されると、Beaver IoTがデバイスと対応するEntityを自動作成すると説明されています。
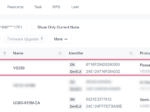
7. トラブル時の確認ポイント
まず確認すべき点は以下です。
特に多いミスは、以下です。
この場合、temperature は文字列です。Device Templateで double と定義している場合は、次のように数値で送信します。

 Development PlatformのデバイスをBeaverIoTに追加この記事はVS350を例にデバイスをDevelopment Platformに登録後に、BeaverIoTに登録する手順を示します。
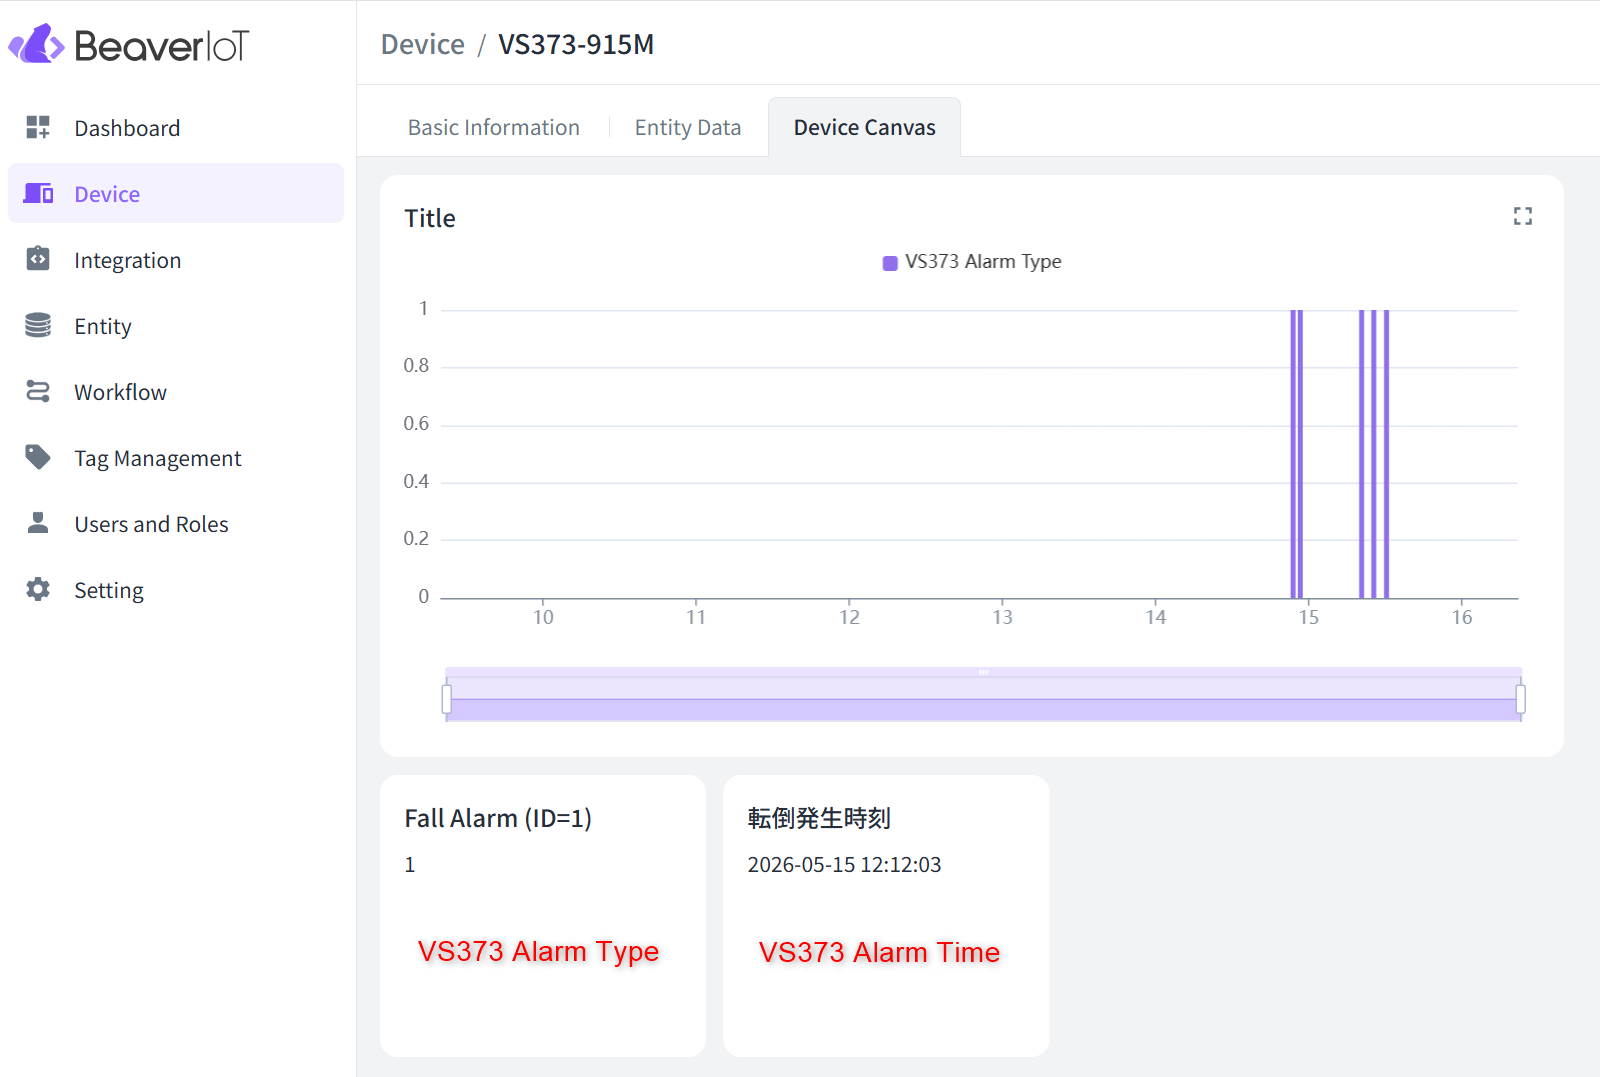 Beaver IoTのダッシュボードにVS373のFall Alarmを表示するこの記事の執筆時点で、VS373のFall AlarmがBeaverIoTのダッシュボードに表示する機能がサポートされていなかったため、カスタマイズしました。
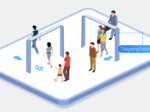
 Beaver IoT を使用して、複数の VS13X デバイスからの入出力データを処理する方法。主にBeaver IoTで複数のVS133デバイスからのデータを処理し、ダッシュボードに表示する方法について説明します
 Beaver IoT サポート